Showing posts with label Recipes. Show all posts

Sunday, April 3, 2011

Menu Plan for week of April 3 - 9


I noticed it's been awhile since I posted about my weekly Menu Plan.  I still do one up every week, I just wasn't blogging much over the past few months, so that's why you didn't get a peak of what we were eating.

My dad made an improptu visit over from Portugal this week and he is staying with my sister who lives 1 1/2 hours away. He will be staying with us for a few days at some point this week, but I am not sure when.  I am guessing towards the end of week and so I have planned for his fave food for Friday.

Breakfasts
Choice of cereal, bagels, toast with PB&J or Yogurt Fruit Smoothie

Lunch
- Usually leftovers from night before. (I use a thermos for each of the kids to take to school)

Dinner

Sunday - Pineapple Pork Roast, carrotts, rice
Monday - Chicken Cutlets, vegetable, and rice
Wednesday - Sheppard's Pie ( I tried this one a few weeks ago and we loved it)
Thursday - Leftovers (unless my dad is over, then I will look through freezer for something)
Friday - Pork Ribs (My dad loves ribs)
Saturday - Pizza

I am thinking about doing my meal planning for two weeks... starting next week.  Which means that I will probably be doing my big grocery shopping trip every two weeks too.  Does anyone else meal plan and shop for two weeks?

I am linking up here.

Wednesday, January 19, 2011

How to Make your own Chicken Broth

One of the things that has become second nature to me is to automatically make chicken broth from the left overs of a deboned chicken.  I've even trained hubby to do this anytime he has deboned a deli chicken.

It's really easy to do and sooo good for you.

Have you looked at the ingredients on a box of store bought Chicken broth?

I can't even pronounce those things much less know what they are.

Since most of my meals for this week are chicken broth based I made some broth from chicken carcass of a .99 cent whole chicken that I used for yesterday's Chicken Paprikash.

Here's how I make my own home made Chicken Broth.

Add Chicken remnants.  This is a carcass (back bone, breast bone, etc.). 
And fill with Water.

Add two onions, wash but don't bother peeling them.
I've done it both ways, and I find when I leave the skins on, it has a darker colour.

A couple (or as much as you want) of peeled garlic.
(I don't know why I peel them, I just do)

A couple of Bay leaves.

1 Tbsp of Salt.  (I use coarse salt.)

A carrot or two. I snapped mine in half after I washed them. 
I didn't bother peeling it.
You might also want want to throw in some fresh spices if you want.  I usually save the spices for what ever meal I'm using the broth for.

Bring it two a boil and then let it simmer for 2-3 hours.

And this is what you end up.

(That fatty top of jar gets removed before I add it to whatever meal I'm using it for.)

And that's it. 

Here's the recipe again:

Chicken carcass (bones and skin remnants)
2 -3 onions washed with skins on
 2-3 garlic pieces
5 -6 peppercorns
2-3 bay leaves
1 tbsp coarse salt
1 carrot broken in half (washed but not peeled)
(other fresh spices if you had them)

Add everything to a large pot with water.  Bring to a boil, and then reduce to medium to low heat and let simmer for 2-3 hours.

Once it's done, removed all ingredients with a skimmer and add to your containers for the fridge or freezer.  I usually scrape the fatty bits at the top of my containers before I add to a recipe.

So easy, and I can pronounce all the ingredients in there too.

And now I have a fridge & freezer full of chicken broth for this week's meals and maybe next week's too

So, do you think you will still buy chicken broth at the store or will you make your own?

By the way, have you liked me yet on Facebook

Follow along on my Weight Loss Challenge.

Tuesday, January 18, 2011

The Menu Plan (Pantry Challenge edition)

This week I just don't feel like cooking!

(Do you ever feel like that?)

Yes, all week! But my family needs to eat (I guess I do too), so I will cook.

It's going to be an easy week though, cause we have a few birthday celebrations (hubby and our nephew).

I'm still cooking from stockpile and trying to empty the freezer.  I am getting there, I can almost see the bottom of freezer with two weeks to go.

Here's what we're eating:
( I know I'm a day late)

01 - 17 - pasta and home made beefy tomatoe sauce from freezer - (*read below)
01 - 18 - Chicken Paprikash, rice,  green salad (will make chicken broth for the freezer and rest of week's meals with carcass)
01 - 19 - Italian Wedding soup, garlic bread
01 - 20 - Beef Enchiladas (and I'm making my own enchilada sauce from this recipe)
01 - 21 - leftovers for kids and I (hubby is out at a hockey game)
01 - 22 - Hubby's b'day celebration - he wants steaks and steaks he shall get. :-)
01 - 23 - Big breakfast and late lunch at sister's house for nephew's first b'day celebration.

* While cooking the pasta for the dinner on 01-17, I accidently dumped the entire box of pasta (remember the free ones) in the pot.  Ugggh. I didn't have enough sauce for the entire box, so I decided to make pasta salad with the extra pasta which will be great for quick lunches for hubby and I.

I just added a bunch of leftovers from the fridge and it turned out great.


Here's what I dumped in there:

About 2 cups of cooked pasta
1/2 cup of halved grape tomatoes
1/2 cup of  chopped brocolli
Sprinkle of Parmesan cheese
 1/8 tsp red pepper flakes
a bunch slices of roast beef from Sunday dinner
salad dressing (1/4 red wine vinegar, 1/3 olive oil, 1/2 tsp oregano, 1/2 tsp honey and 1/2 tsp dijon mustard. 1 tsp garlic powder) I used enough to coat the pasta, the res will be for green salad dressing
salt and pepper

I'm linking up here, here and here.

Thursday, January 13, 2011

Easy Pita Snack

The kids came home from school the other day just S-T-A-R-V-I-N-G!!!

I think all of three of them are going through a growth spurt cause they are always hungry.

I quickly remembered this recipe from Mr's January, and I remembered I had alot of pita's in the deep freezer to use up, so I got started. 


I changed it up a little abit to use up some jarred Bruchetta that we got in a gourmet food basket from hubby's work.


I followed her recipe and just added bruschetta mix to half of the pita slices.  I used Mozarella cheese cause that's what I had on hand.  Remember that pantry challenge?


 You could also use Pesto or anything else you have on hand.
So yummy!! 


Monday, January 10, 2011

Orange Cranberry Muffins

A few months ago when McDonald's was giving away free small coffee, I took the kids to Playland  to meet up with some friends quite a number of times.  During these play groups I also discovered their Slim Sensations Orange Cranberry Muffins and became addicted.  They were sooooo good!  They are supposedly healthy, but nothing that good could possibly be healthy.

Since we're participating in the pantry challenge this month and I'm trying to live a healthier lifestyle, I thought I would make my own.  I adapted my recipe from this recipe.


Orange Cranberry Muffins
  • 1/3 cup softened butter
  • 1/2 cup orange juice
  • 1 egg
  • 1/2 cup sugar
  • 1 1/2 cups all purpose flour
  • 1 tsp. baking powder
  • 1 tsp. baking soda
  • 1/2 tsp. salt
  • 1/2 cup dried cranberries (I used craisins, cause it was what I had in pantry)
Preheat oven at 350.

Mix butter, egg, sugar and orange juice.  Add in remaining dry ingrediens.
Bake for 15 minutes.

(Next time, I think I will grate some orange rind into the mix, to see if the orange flavour will be a little stronger.)

Let me know if you try them and what you think.

Enjoy!!

Wednesday, December 8, 2010

Strawberry Jam Squares

 With the yucky weather outside (we're on Day 3 of School Shutdown because of Snow storm) I make myself cozy indoors and start the baking.

This recipe came from one of my favourite aunties.  I have great memories of going to her house and eating plateful square after square these.  They are yummy!!


Strawberry Jam Squares

2 cups of white Flour
1 1/2 cups of sugar
1 tsp baking powder
1/4 tsp salt
2/3 Crisco Shortening (or any brand you have)
2 eggs
Jam of your choice ( I love Strawberry)

Preheat oven to 350 degrees.

In a bowl fork beat the eggs.  Add the dry ingredients.  Cut in the Shortening.

In a prepared 9x13 pan, press into the bottom of 2/3 of mixture, reserving the 1/3 for crumbly top.

Spread the strawberry jam over top (light layer)

Crumble rest of mixture on top and bake in oven for 20 minutes.

Let cool and cut into squares.

These freeze really well.  Perfect for the Christmas season!

Enjoy!!

I'm linking up.

5 Dollar Dinners
Tasty Tuesday
Little Blue Prints : Cookie Exchange
Life as Mom: Ultimate Recipe Exchange
Fingerprints on the Fridge

Thursday, December 2, 2010

Monday, October 18, 2010

Menu Plan Monday - Week of Oct 18


Sorry, I've been MIA in the Menu Plan Monday posts.

With hosting a potluck Thanksgiving party the week before Thanksgiving and then the actual Thanksgiving weekend, I was sooo overwhelmed with Turkey leftovers, that we ate from the freezer/pantry for about two weeks. It Saved us alot of money though.
(the freezer/pantry is looking a little bare now, so it's time to start planning again)

Monday - Curried Chicken (recipe below)
Tuesday - Cheese Tortelline in Meat Sauce (from freezer)
Thursday - Sheppard's Pie
Friday - Homemade Pizza
Saturday - leftovers
Sunday - Roast Chicken, potatoes, veg.

Easy Curried Chicken Recipe

1 tblsp of veg oil
1 whole chicken (cut up)
1 onion diced
2 cloves garlic
1 can of diced tomatoes
1 cup of diced carrots
1 cup of peas
2 cups of chicken broth
1-2 tblsp of curry paste (depends on how much heat you want)

I saute the onion and garlic in the oil.  Add the chicken pieces, and brown all over.  Add the remaining ingredients and cook over medium heat for about 30 minutes or until chicken is cooked.
(I serve this usually with rice.)

Easy Peazy.

What are you eating this week?

I'm linking up to Laura's, Crystal's, Erin's and Lisa's party.

Wednesday, September 8, 2010

Back to School, Lunches & a Recipe


Is it Fall yet?

It certainly feels like it in Southwestern Ontario today.

All three kids are off to school this week.  Yay!!! They were excited and I was excited to have some time to myself and get back to a routine.  I do better with routines.

Here's some pictures of their first days of school...


S., started grade 7 this year at her French Immersion Shool. 
 Her main goals this year is to not be chatty and pass notes in class.


H. started Grade 5 at her English school.

Her goals this year is to speak up when she doesn't understand something instead of just ignoring it.
If you remember, H., got hearing aids about a month ago,
and we're hoping that will help her in school this year.
So far, I like her teacher. This one actually smiles, unlike the one last year.


And this little guy started Junior Kindergarten (same as H.s School)!! 

My baby!!

He was up early this morning, dressed and wanted to leave an hour early for school.
I hope his enthusiasm continues throughtout is school years.


Here he is begging to go to school!!!

This year I am trying something new with their lunches.
I have the kids help me pack their lunches, but this hasn't guaranteed
that they will eat what we have packed.

S. has two "nutritional breaks", and she is usually really good about eating everything we pack, and bringing home her lunchbag and all her lunch containers.

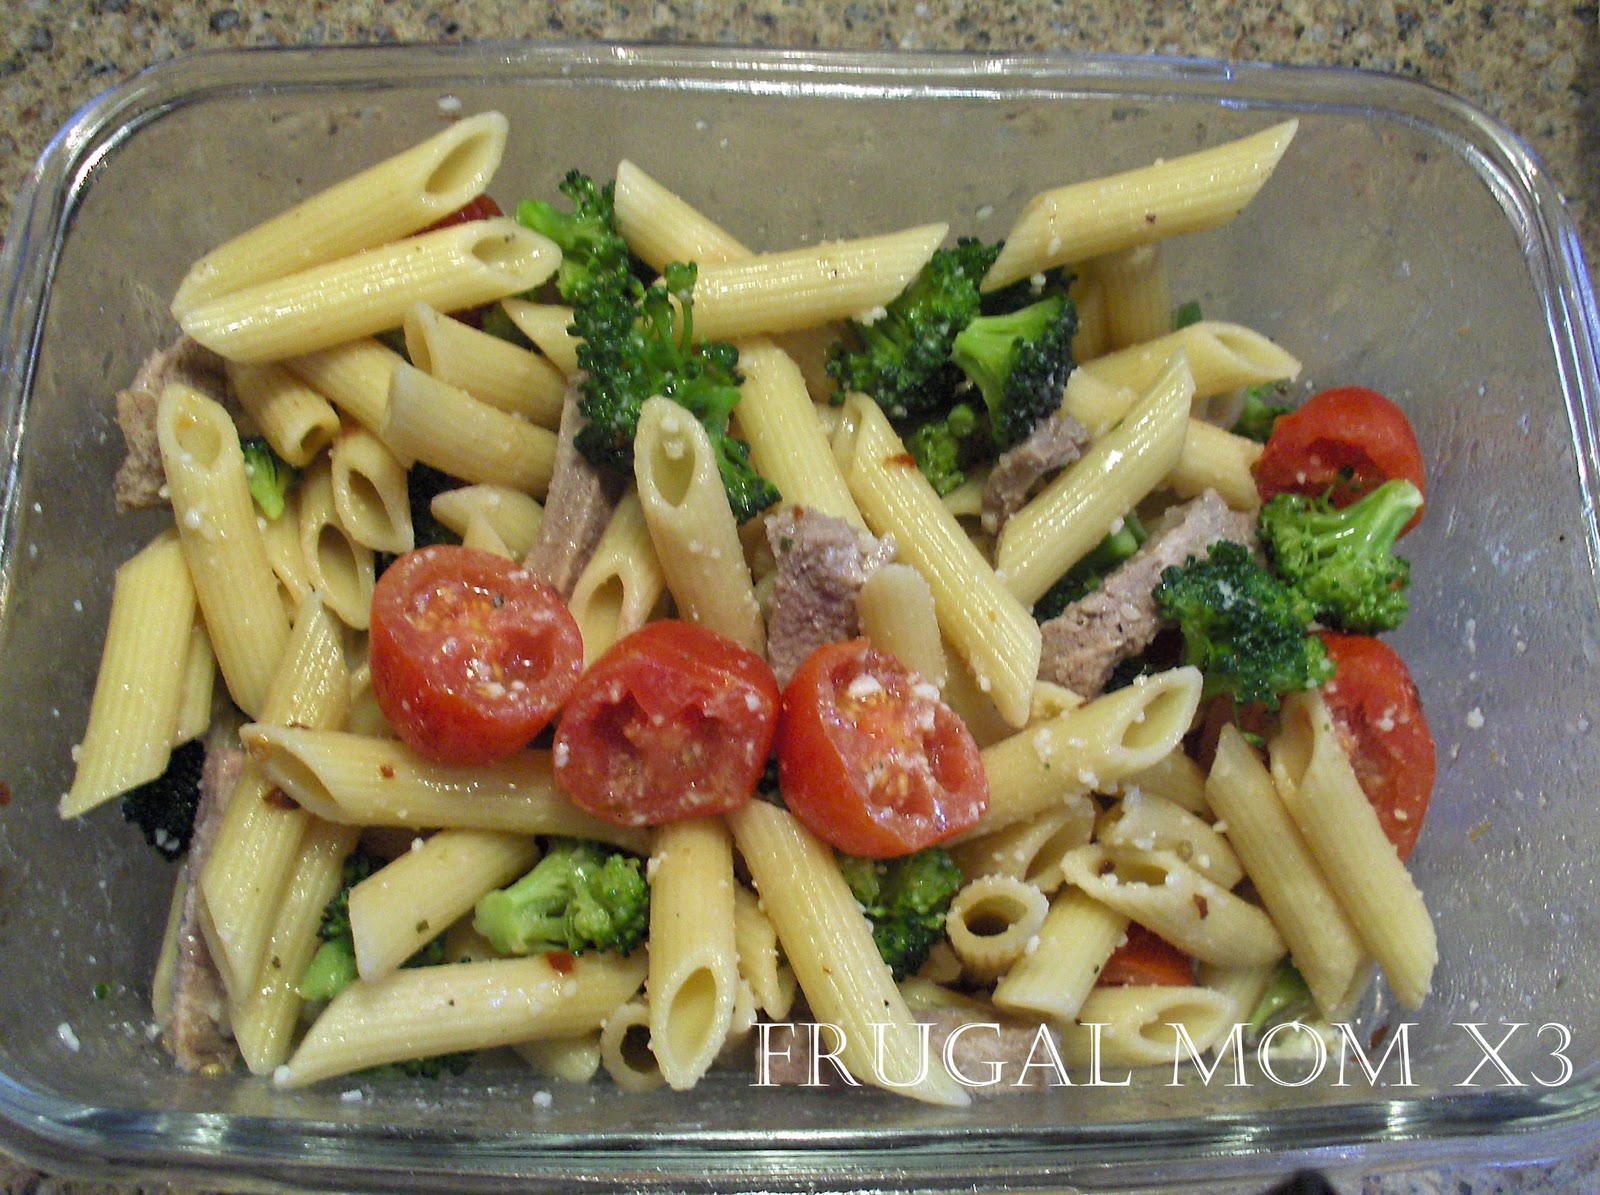
This is what we packed for S. today:


Salad with cucumbers & baby greens and homemade dressing.
Orange, Orange juice and home made  choc chip Muffin.


And she begged for leftover Tuna Casserole in her Thermos.
(recipe at the bottom of this post)

Now for H.! 

 Last year, half way through the year I had her come home for lunch because I found out she was throwing out her lunch and then asking the JK teacher for snacks from her snack cupboard.
(meant for kids who forgot their lunch)
This went on for a week before the teachers figured it out.
She was helping with the packing of her lunches but she didn't like her lunch choices and didn't want to "hurt my feelings" by saying she didn't like them.
So she threw them out and went without.

So this year, we are trying Bento type lunches.

I went to Chapters and they had Bento boxes for $39.99 (hmm... no thanks)
So we made our own.

It's just a rectangular container and we try to pack all of the food groups in there.


This H.s lunch today!
Crustless cheese sandwiches, pepperoni pieces, Minigo yogurt,
orange segments and choc chip cookie.


Here it is packed into her lunch bag with an apple and a snack box of different kinds of crackers.
I told her I wanted to see what was left of the apple. ( I want to make sure she is not throwing it out)


This is A.s lunch.
He's got crustless cheese sandwiches, pepperoni sticks,
Minigo Yogurt, red pepper slices, and Chocolate chip muffin.


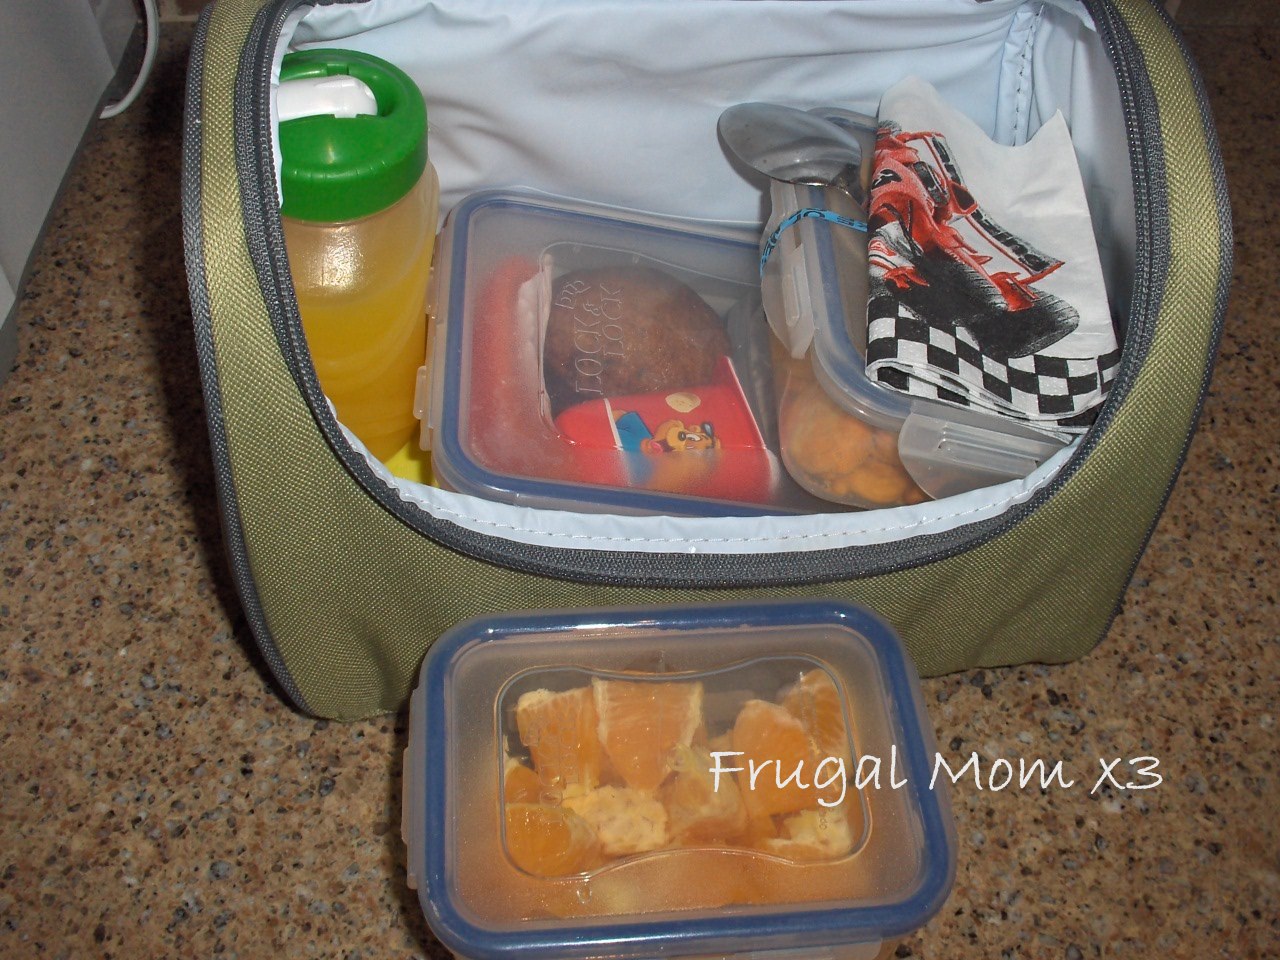
Here it is packed in his lunch bag.

There is also orange juice, and two snacks.
(Apples sauce & crackers and orange segments)

If it doesn't work out I can always have them they start coming home for lunch again.

How do you pack your kids lunches? 

How do you keep it interesting throughout the school year?

I'm linking up to some of these parties.

Please visit my Shaklee website for more ways to keep your children healthy this school year!


TUNA CASSEROLE

1 1/2 cups of elbow macaroni pasta ( or pasta of choice)
2 cans of Tuna
1 can of cream of Mushroom soup
1/2 of milk
1 cup of green peas
salt & pepper
a couple of dashes of hot pepper sauce
1/2 cup breadcrumbs
1/2 cup grated parmesan cheese

Cook your pasta according to package directions. Drain and set aside.

Mix Tuna, soup, milk and peas in bowl.

Season with salt and pepper and add a couple of dashes of hot pepper sauce.

Add the Tuna mixture to pasta and pour into greased 9 x 9 glass casserole dish.

Mix breadcrumbs and cheese and sprinke on top.

Bake in 350 oven for 30 minutes.

Yummmy!

Thursday, August 19, 2010

You say tomatoe, I say tomato...


It's that time of year again... the tomatoes are ready to be picked at all our local farmer's fields.

(this is my mom)

Since my parents are visiting, I took advantage and hauled the kids into the van (and parents too) and off we went to my favourite U-pick Farm.  My mom knows the best tomatoes to pick.

(S found a funky looking tomatoe)

The rest of my plan back fired though.  After we picked the tomatoes, I was hoping, my mom would help with prepping and jaring all the tomatoes. Nope... didn't happen.  My dad ended up getting into a small accident and wrecking the rental car and had to drive back to my sister's house (1 1/2 hours away) to file a report and return the rental car and getting a new one. hmmmmpppphhh....  So I ended up doing everything myself.

Just a warning... for anyone reading that KNOWS what they are doing,
 I would suggest leaving this blog NOW.

Legal Disclaimer: I am an amateur canner/jarer, although I've been 'helping' for a long time.

So here's what I DO. 

Step 1: Wash all the tomatoes.  I washed mine in my laundry tub.


Step 2: Peel and de-seed and chop tomatoes.
I peel them by boiling for a 1 minute and then plunging in ice water. 
(Sorry no pics of that step.)


Then I stick my finger in the pockets to remove the seeds.


Step 3: Once my large cooking pot is full I use my hand blender.
I try to crush them down as much as I can, but I like my sauce chunky.


Step 4 : I add 2 tblsp course salt, 1 tsp fresh ground pepper and about 3 Bay leaves.
And Boil for about 1 hour on medium low, stirring ocassionally.

Step 5: Wash Jars, and put in oven at 200 degrees for 20 minutes to sterilize.  (I forgot to take pic)
And prep lids according to package instructions.

Prep your area. Make sure you have everything you need before you start the canning part.


Step 6: I was told a long time ago to use only plastic or glass when packing the jars. (can't remember reason)


Step 7: I throw in a couple pieces of sliced sweet red pepper and couple leaves of basil half way through my jar.


Step 8: Place lid on jar and your screw band over lid to finger tip tight.
(Not too tight, or else you'll have a hard time getting the screw band off later
 when you want to use your sauce)

I know it sounds kind of bland, but I use this sauce as my base for other sauces throughout the year, by adding my veggies, and garlic and other spices. That way I can have variety.

Note: We picked 1 bushel and it yielded 9 of the large jars at a cost of $10.  I had everything but the tomatoes.


( I wait to hear the 'pop' of the lid and then I let the jars rest on a towel
 on my counter for about 24 hours or so)

Super easy!

So have you visited your local market and what are you canning this year?

Bette

I'm linking up to some of these parties

Monday, August 16, 2010

The Weekend and Throat Healing Recipe!

I guess I'll start with an apology cause I know I promised you a Bloggy Friends Weekly Roundup link-up party on Friday, but I had to no energy to think and put together a simple post.  I'll try again this week.

I woke up on Friday, feeling a little yucky.  I managed to make it to a morning appointment and then to a friend's house for a visit.  At which point I said to her, "my hands and feet hurt and I feel weird".  I ended up laying down "for a couple of minutes" and slept for the next 2-3 hours... while she watched all the kids. Hubby came by and picked us up and I slept for the next 24 hours on and off with achy, sweaty and shivering moments.  Good times around this household! (I must have caught this bug from Little A who caught it at the soccer tournament last weekend or from my dad who had it a few days earlier.)

I did end up getting up yesterday to attend my nephew's baptism... I was the godmother.  I kinda had to be there.
(me, Baby Daniel and H.)


(me, Baby Danie, A and S)


(ummm... don't know what was up with 4 yr old :-) )

By the time we got home from baptism my throat was really sore and my pain medication had worn off.  I called my mom at my sister's house and asked her what to do.  (Mom's always know!)

She told me to gargle with salted lemon water.  Huh??  What??

Basically, I took a lemon and squeezed about 1 tablespoon out it, added about 1 tablespoon of luke warm water and 1/2 teaspoon of salt and mixed it up.  I gargled with it.  It tasted pretty good.  I normally only use the salted water but I hate the aftertaste.  But this new "home-recipe"  had a nice salty lemony taste to it. Not bad.

When I woke up this morning, my throat felt a whole lot better.  I gargled again.  I might not need antibiotics... at least I hope not.

I'm also, going to be ordering some of Shaklee
s NutriFeron -Immunity Support.  With School just around the corner, I bet ya there will be a few germs floating around the house.

Don't you just love home remedies? 

What's your cure-all?

Have a great healthy day!

Bette

Please check out my on-line Shaklee store.

Saturday, July 24, 2010

My Fave Zucchinni Bread: A Recipe.

Do you remember earlier this week I went to a farm near my house and bought me some large zucchinnis?

I know you remember!

Anyhoo I promised you a recipe so here is goes... with pictures to boot! (ok... I might have forgotten a couple of pictures)

Step 1:  Take one of these large guys! Wash, cut in half and get rid of seeds.
(I'm funny about seeds)


Step 2: Half of one of mine gave me 2 cups of grated Zucchinni.
(without seeds)


Step 3: In large bowl, mix eggs, oil, and sugar.


Step 4: Add your grated zucchinni and mix together.


Step 5: Add flour, magic powder, baking soda & salt.
At this point you can add your add-ins. I added a can of drained pineaplle tidbits.
(choc chips are good too.)

Step 6: And Voila! 
You can make 2 loaf pans or 24 muffins with this recipe.

Now here is the Recipe:

Zucchini Bread

- 3 eggs
- 1 cup of vegetable oil ( I use Canola)
- 2 cups of sugar
- 2 cups grated zucchinni
- 2 tsp vanilla
- 3 cups all purpose flour
- 1 tsp salt
- 1 tsp baking soda
- 1 tsp baking powder
- 1 tbsp cinnamon

(add in your add-ins: walnuts, chocolate chips, crushed pineapple)

Bake at 350 for 50-60 minutes for loaf pan or 20-25 minutes for muffins.

Enjoy!!

What have you been baking this weekend?

LinkWithin

Related Posts with Thumbnails